Forum Discussion
45 Replies
 mani_taporiOccasional ContributorHi Jeff/Admin
I did that step partially. I clicked on view and deleted everything shown under "Application" view. I'll try it again by deleting everything for other views as well and will let you know soon.
Thanks for pointer.- mani_taporiOccasional ContributorYes, it worked. Thank you so very much :-)
 anilyadav106Occasional ContributorHi:
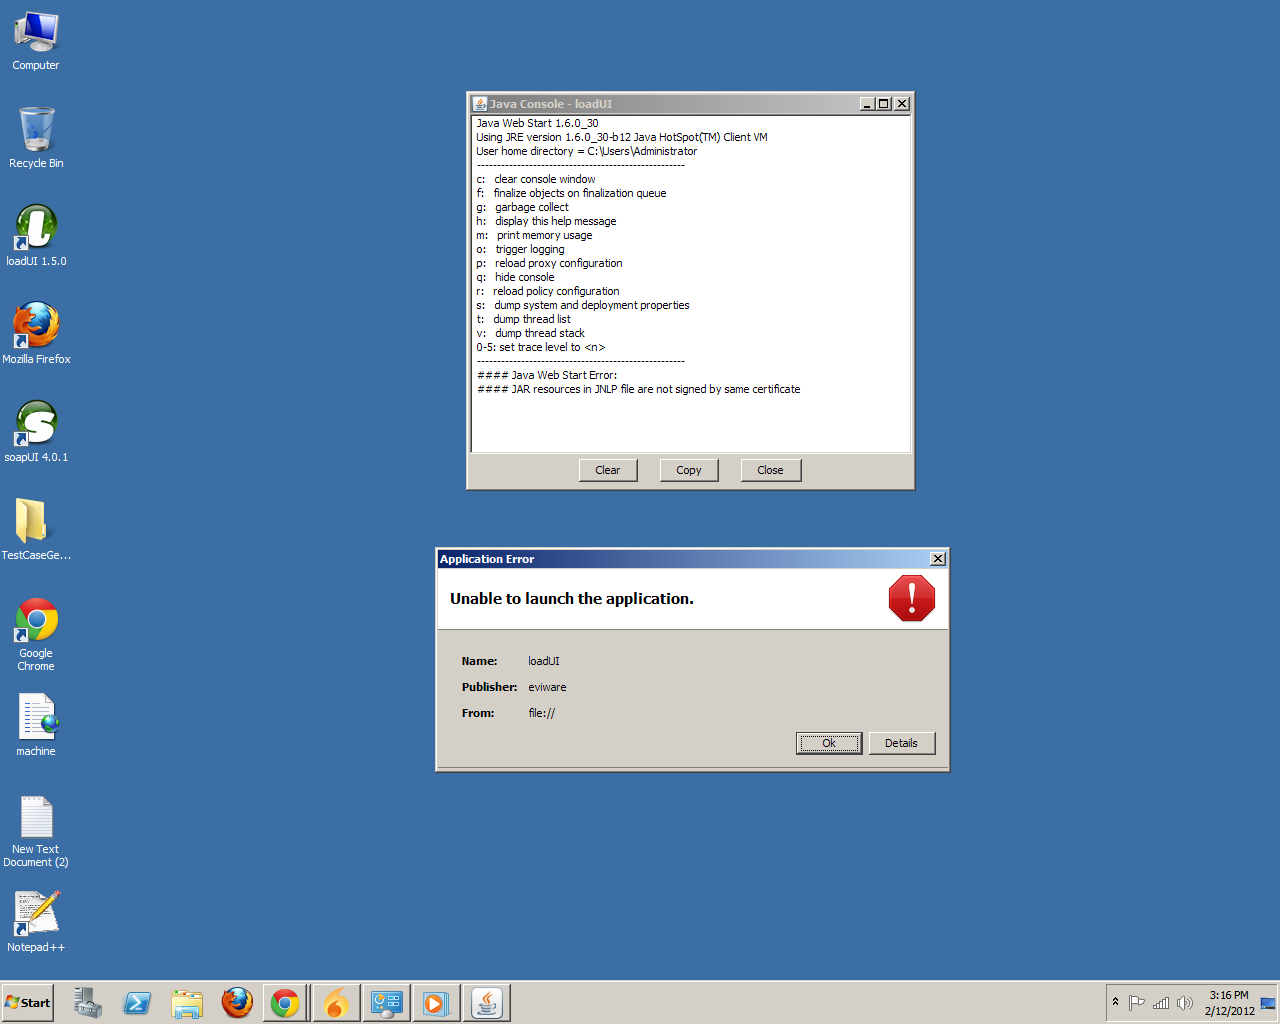
I am also getting error when i do launch the application saying that "unable to launch the application".
I have many times installed/deinstatlled newer version of JAVA too.
But not successful.
Please help me.Even when i reinstalled loadui 1.5.0,at the last point it says unable to launch the application after installing javafx.
Thanks
Anil- anilyadav106Occasional ContributorI have followed the above steps and have deleted everything for the dropdown list.But still gettng the same error that:Unable to launch the application.When i click on details-java console,in the last line i get the message that"#### Java Web Start Error:
#### Unable to load resource: http://dl.javafx.com/1.3/javafx-rt.jnlp
"...what is this ?
Please help to solve this,i am facing this problem since 2 months.
Thanks
Anil - Anyone still having these issues, please try following these exact steps, they seem to work the best:
1. In a file browser, browse to the loadUI installation directory.
2. In this directory find and open the "jre" directory, then the "bin" directory inside of it.
3. Double-click on the javacpl.exe file to launch the Java Control Panel. If Windows asks you for permission to launch it, allow the application.
4. Click on the "View..." button in the "Temporary Internet Files" section.
5. In the "Show" dropdown, go through all of the views and for each view, select all items in the table, and delete them by pressing the red X button.
6. Once done, click on "Close", then "OK". Again, if Windows prompts you for permission, allow it.
Regards,
Dain
SmartBear Software
